


To lube keyboard switches without desoldering, use a syringe or needle applicator to apply lubricant directly into the switch. Carefully remove the keycap, then insert the lubricant into the stem or housing.
Maintaining your mechanical keyboard can enhance its performance and lifespan. Lubing switches improves feel and reduces friction, creating a smoother typing experience. Many enthusiasts prefer to lube their switches for optimal responsiveness. Desoldering can be daunting and risky for beginners, but there’s a simpler way.
This method allows you to lube switches while keeping them intact. You can achieve a satisfying sound and tactile feedback without extensive disassembly. Follow these steps to revitalize your keyboard and enjoy a more enjoyable typing experience. Get ready to transform your keyboard with minimal effort and maximum results.
Keyboard customization allows users to enhance their typing experience. Many enthusiasts love to modify their keyboards. Customization can improve aesthetics, sound, and feel. One key aspect is lubrication, which can transform switch performance.
The Importance Of Lubrication
Lubrication plays a crucial role in keyboard switches. It reduces friction and wear. Proper lubrication leads to smoother key presses. Here are some important points:
- Enhanced Feel: Lubricated switches feel softer and smoother.
- Noise Reduction: Lubrication minimizes the sound during typing.
- Extended Lifespan: Lubricated switches last longer with less wear.
Benefits Of Non-desoldering Methods
Non-desoldering methods save time and effort. They allow users to maintain their keyboards without complex disassembly. Here are the key benefits:
- Easy Process: No need for soldering tools.
- Less Risk: Avoids damage to the PCB.
- Quick Updates: Lubrication can be done in minutes.
Methods like switch opening and direct application are popular. Use a needle or a syringe for precise application. These methods provide excellent results without the hassle.
Tools And Materials Needed
Lubing keyboard switches can enhance your typing experience. It makes your keyboard quieter and smoother. Gather the right tools and materials before starting. Here’s what you need to get the job done efficiently.
Selecting The Right Lube
Choosing the correct lubricant is crucial. Different lubes provide varying levels of smoothness and sound. Here are some popular options:
- Grease: Thick and long-lasting.
- Oil: Thinner and provides a quick application.
- Specialized lubes: Designed for keyboard switches.
Consider the following factors for selection:
| Lube Type | Texture | Sound Level |
|---|---|---|
| Grease | Thick | Quieter |
| Oil | Thin | Louder |
| Specialized | Varies | Varies |
Additional Tools For The Job
Besides the lubricant, you need a few more tools. These items will make the process easier:
- Keycap puller: For safely removing keycaps.
- Brush: For applying lube precisely.
- Tweezers: For handling small parts.
- Microfiber cloth: For cleaning surfaces.
- Container: To hold the lube.
Having these tools ready speeds up the lubing process. Keep everything organized for a smooth workflow.
Preparation Steps

Preparing to lube your keyboard switches is essential. Proper preparation ensures a smooth process and better results. Follow these steps to get ready without desoldering.
Cleaning The Keyboard
Start with a clean keyboard. Dirt and dust can affect the lube application. Here’s how to clean it:
- Unplug the Keyboard: Safety first. Always unplug it.
- Remove Keycaps: Use a keycap puller. Be gentle to avoid damage.
- Wipe the Surface: Use a microfiber cloth. Dampen it slightly with isopropyl alcohol.
- Clean the Keycaps: Soak them in warm soapy water. Scrub lightly with a soft brush.
- Dry Everything: Let the keyboard and keycaps air dry completely.
Assembling The Workspace
A well-organized workspace makes the process easier. Follow these tips:
- Choose a Clean Area: Find a flat, well-lit surface.
- Gather Tools: Prepare the following items:
- Lubricant (like Krytox or Tribosys)
- Small brush or applicator
- Tweezers
- Microfiber cloth
- Keycap puller
- Set Up a Container: Use a small tray to hold keycaps and switches.
With a clean keyboard and a tidy workspace, you are ready to lube your switches. This preparation will help ensure a smooth process.
Removing Keycaps And Stabilizers
Removing keycaps and stabilizers is essential for lube application. This process allows access to the switches. Proper removal prevents damage to your keyboard. Follow these steps to ensure safe removal.
Step-by-step Keycap Removal
- Gather Your Tools: You need a keycap puller and a soft cloth.
- Power Off the Keyboard: Unplug it to avoid accidental presses.
- Position the Keycap Puller: Slide the puller under a keycap.
- Gently Pull Up: Squeeze the handles to lift the keycap.
- Repeat: Continue with other keycaps as needed.
For larger keys, use extra care. Stabilizers may be attached, so check their connections.
Stabilizer Extraction Techniques
- Identify Stabilizers: Look for larger keys like spacebar or enter.
- Remove the Keycap: Follow the keycap removal steps.
- Locate the Clips: Stabilizers have clips holding them in place.
- Gently Press the Clips: Use a plastic tool to avoid damage.
- Lift the Stabilizer: Carefully pull it out of the keyboard.
Be cautious during this process. Damaging stabilizers can affect key performance. Ensure all parts are stored safely for reassembly.
Accessing The Switches
Accessing keyboard switches for lube can be simple. Two common types are plate-mounted and PCB-mounted switches. Each type has a different method for access.
Techniques For Plate-mounted Switches
Plate-mounted switches are easier to access. Follow these steps:
- Remove the keycaps: Use a keycap puller.
- Unscrew the plate: Locate and remove all screws.
- Lift the plate: Carefully lift it away from the case.
- Access the switches: Switches will be visible now.
With the switches exposed, you can apply the lubricant. Use a small brush for precise application.
Tips For Pcb-mounted Switches
PCB-mounted switches require a different approach. Here are some tips:
- Remove the keycaps: Similar to plate-mounted switches.
- Disconnect the PCB: Carefully unplug it from the case.
- Access the switches: They will be directly on the PCB.
- Use a switch puller: Gently pull each switch out.
Once removed, apply lubricant to each switch. Be cautious not to over-lube.
| Switch Type | Access Method |
|---|---|
| Plate-Mounted | Remove keycaps, unscrew plate, lift plate |
| PCB-Mounted | Remove keycaps, disconnect PCB, pull switches |
With these methods, you can easily access the switches. Proper access ensures a smooth lube application.
Lubrication Process
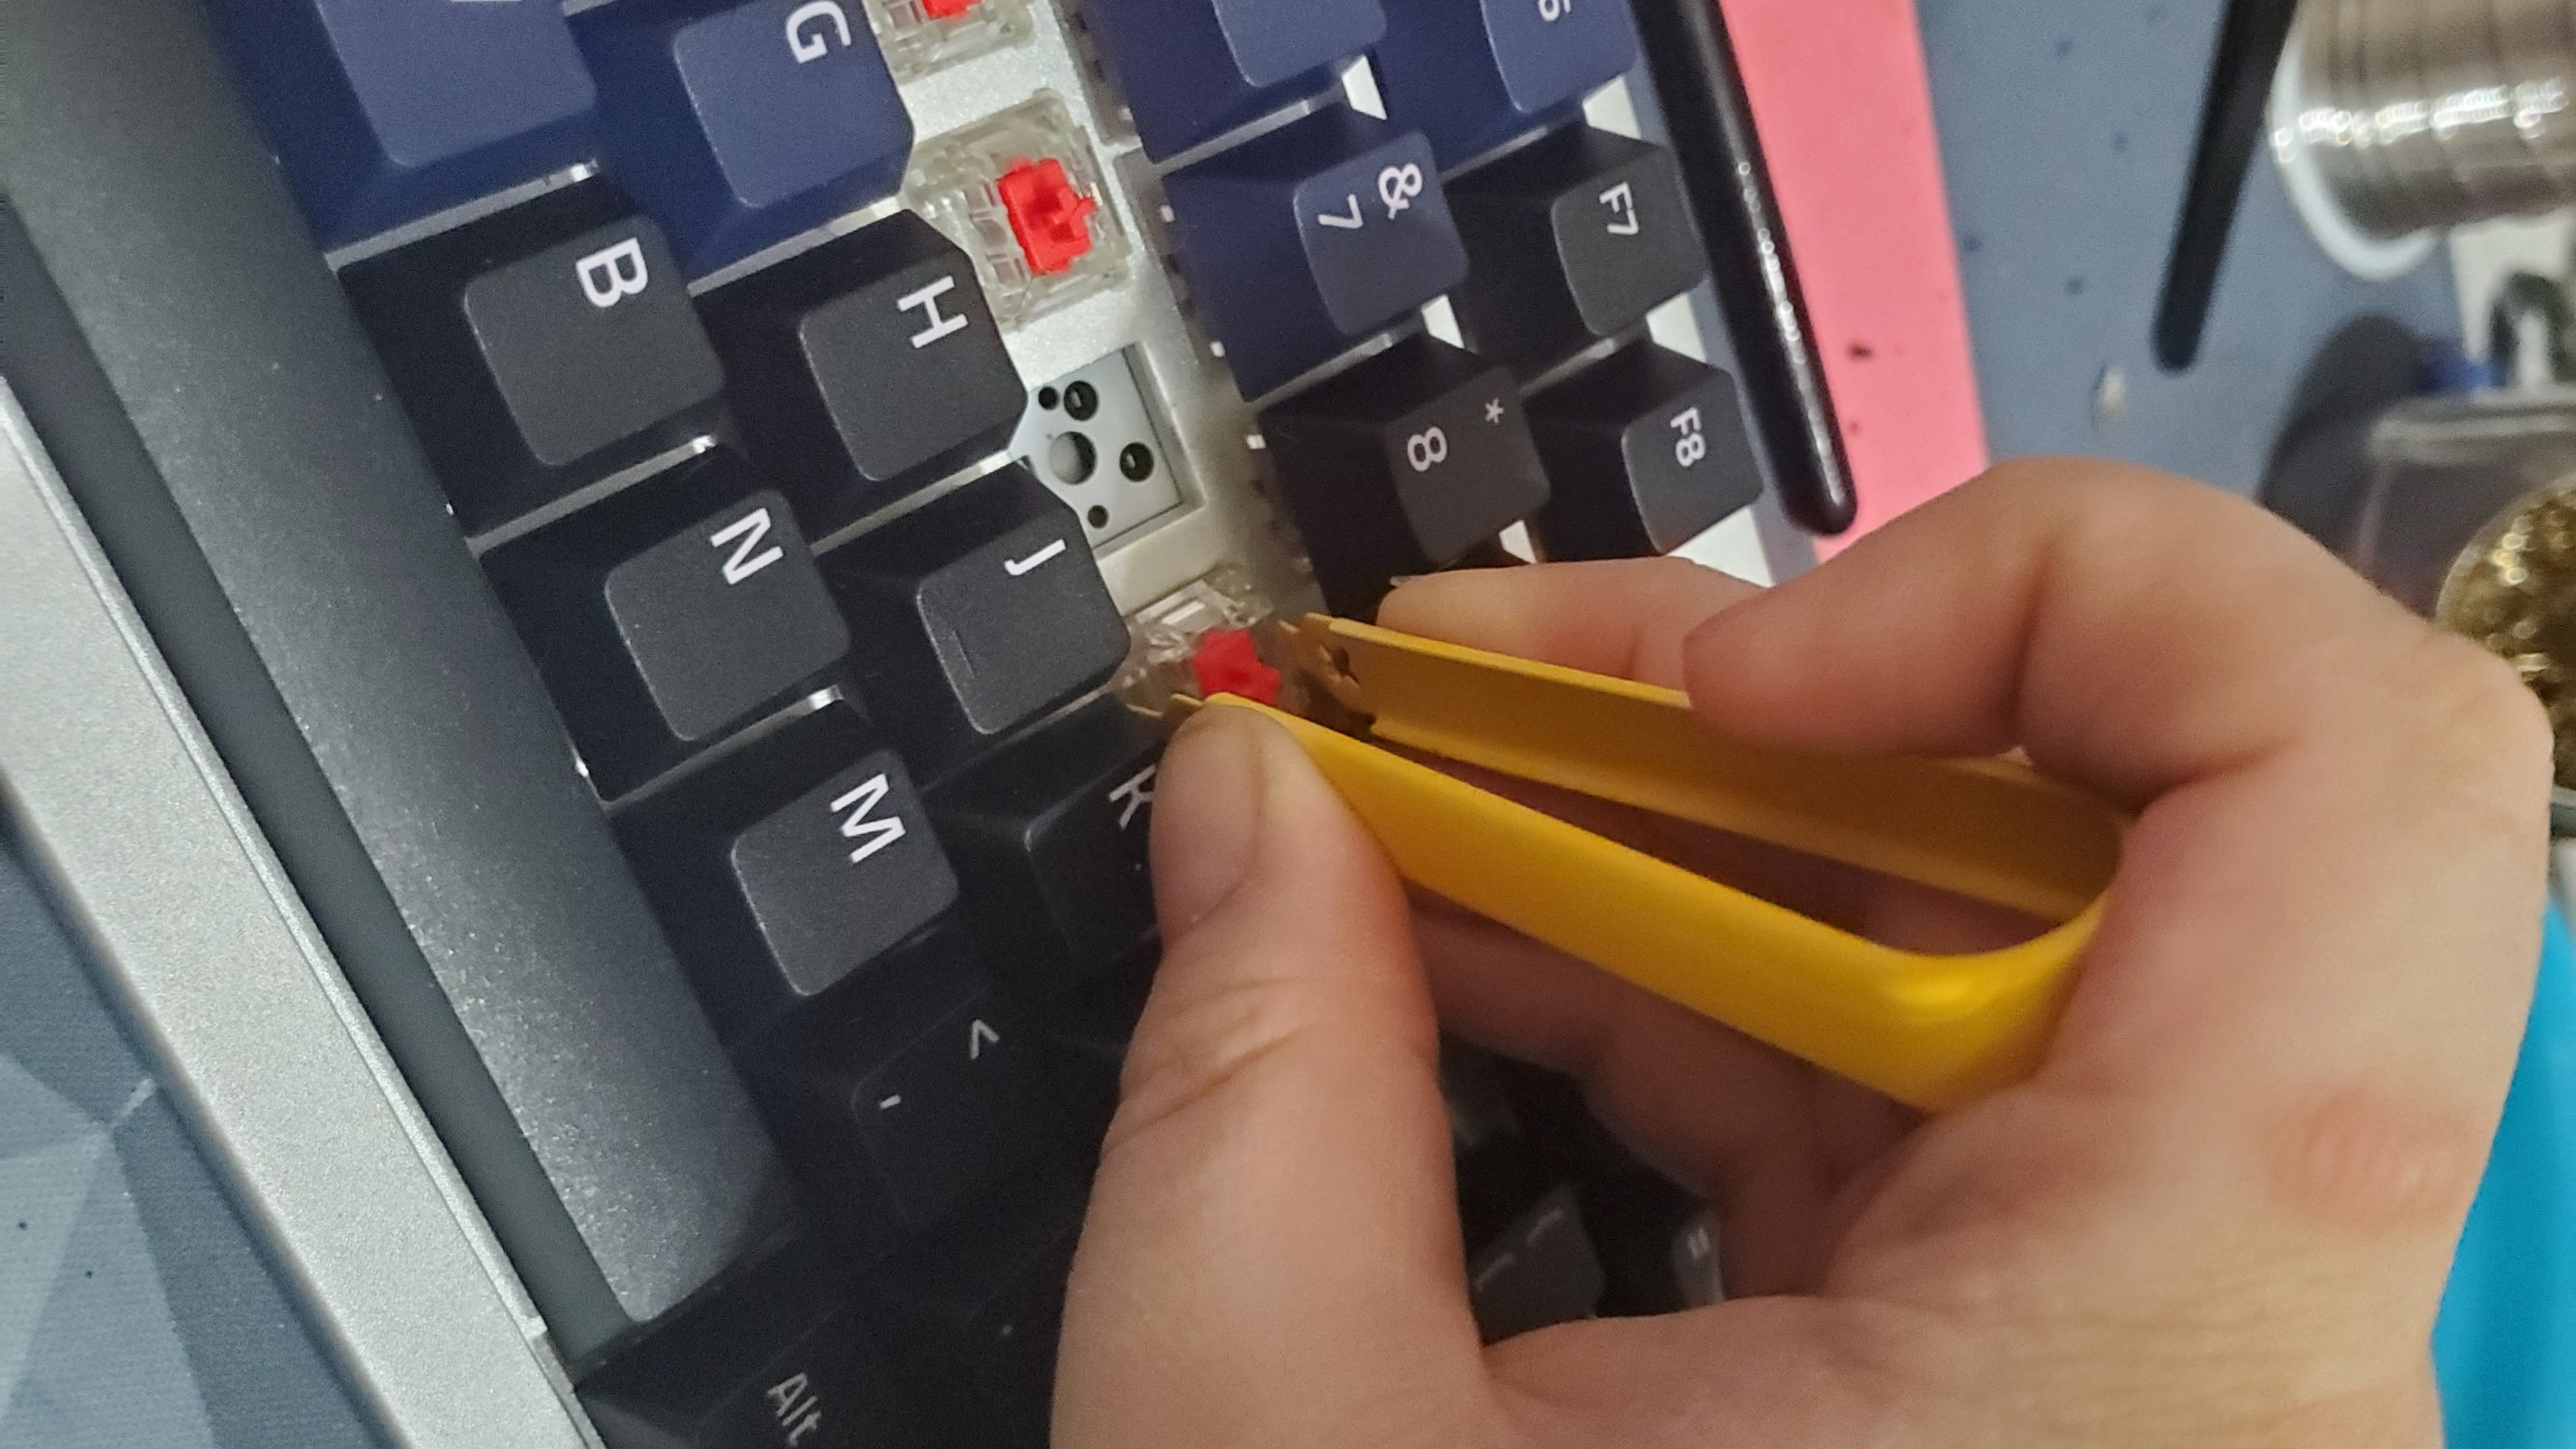
The lubrication process enhances your keyboard’s performance. Proper lubrication reduces friction. It makes key presses smoother. This guide shows you how to lube switches without desoldering.
Applying Lube To The Switch
Start by gathering your materials:
- Lubricant (preferably a thin, keyboard-safe option)
- Small brush or applicator
- Keycap puller
- Compressed air (optional)
Follow these steps:
- Remove the keycap using the keycap puller.
- Inspect the switch for dust and debris.
- Use compressed air to clean the switch.
- Dip the brush lightly into the lubricant.
- Apply a small amount of lube to the switch stem.
Be careful not to over-lubricate. A little goes a long way.
Ensuring Even Distribution
Even distribution is key for optimal performance. Follow these tips:
- Press the switch multiple times after applying lube.
- Check for any excess lube and wipe it away.
- Ensure the lube reaches all moving parts.
For best results, consider these factors:
| Factor | Effect |
|---|---|
| Brush Type | Controls the amount applied |
| Lube Thickness | Affects smoothness of key presses |
Test each switch after lubrication. This ensures they feel consistent.
Reassembly And Testing
After lubricating your keyboard switches, it’s time to reassemble and test. This step ensures everything functions smoothly. Follow these steps carefully for the best results.
Reattaching Stabilizers And Keycaps
Reattaching stabilizers and keycaps is straightforward. Here’s how to do it:
- Check if the stabilizers are clean and lubricated.
- Align the stabilizers with their slots on the PCB.
- Press down firmly until you hear a click.
- Place the keycaps back on the switches.
- Ensure each keycap fits snugly.
Double-check that all stabilizers are secure. Loose stabilizers can cause rattling sounds while typing.
Functional Testing Post-lubrication
Testing your keyboard ensures everything works well. Follow these steps for functional testing:
- Connect your keyboard to the computer.
- Open a text editor or keyboard tester website.
- Type each key and observe its response.
- Listen for any unusual sounds.
- Check stabilizers by pressing larger keys like the spacebar.
Look for smooth key presses. No sticking or grinding should occur. If you notice issues, consider re-lubricating or adjusting keycaps.
Maintenance And Care
Keeping your keyboard switches in top shape is important. Regular maintenance extends their lifespan. Proper care enhances typing experience. Use these tips to maintain and care for your keyboard switches.
Routine Cleaning Tips
- Turn off your keyboard before cleaning.
- Use a soft brush to remove dust.
- Wipe the surface with a microfiber cloth.
- For stubborn grime, use isopropyl alcohol.
- Make sure to clean between the keys.
Routine cleaning prevents buildup. This makes lubing easier. Regularly check for any sticky switches. Address issues early to avoid more significant problems.
Lube Longevity And Touch-ups
Lubing your switches improves smoothness. Over time, the lube may wear off. Here are tips to keep your lube effective:
| Tip | Description |
|---|---|
| Use Quality Lube | Choose high-quality lubricant for durability. |
| Avoid Over-Lubing | Too much lube can cause sluggish performance. |
| Inspect Often | Check switches regularly for wear. |
| Touch-Up Lube | Apply a small amount of lube as needed. |
Touch-ups ensure smooth operation. Maintaining your keyboard switches is simple. Follow these tips for an optimal typing experience.
Troubleshooting Common Issues
After lubing your keyboard switches, you might face some issues. These problems can affect performance. Understanding how to troubleshoot them is essential.
Dealing With Over-lubrication
Over-lubrication can make your switches feel sticky. Here are some tips to fix it:
- Use a paper towel to absorb excess lubricant.
- Press the keys multiple times to spread the lube evenly.
- If necessary, reapply a lighter coat of lubricant.
Key points to remember:
- Less is more; use a small amount.
- Test the switches after each application.
Addressing Reduced Key Responsiveness
Reduced key responsiveness is frustrating. It may happen due to improper lubing. Here’s how to troubleshoot:
- Check if the lubricant has dried too much.
- Ensure the switches are clean before applying lube.
- Try a different lubricant designed for switches.
Follow these steps:
- Remove the keycaps carefully.
- Inspect the switches for debris or excess lubricant.
- Reapply lubricant sparingly if needed.
Remember, key responsiveness is vital for a great typing experience.
Conclusion And Additional Resources
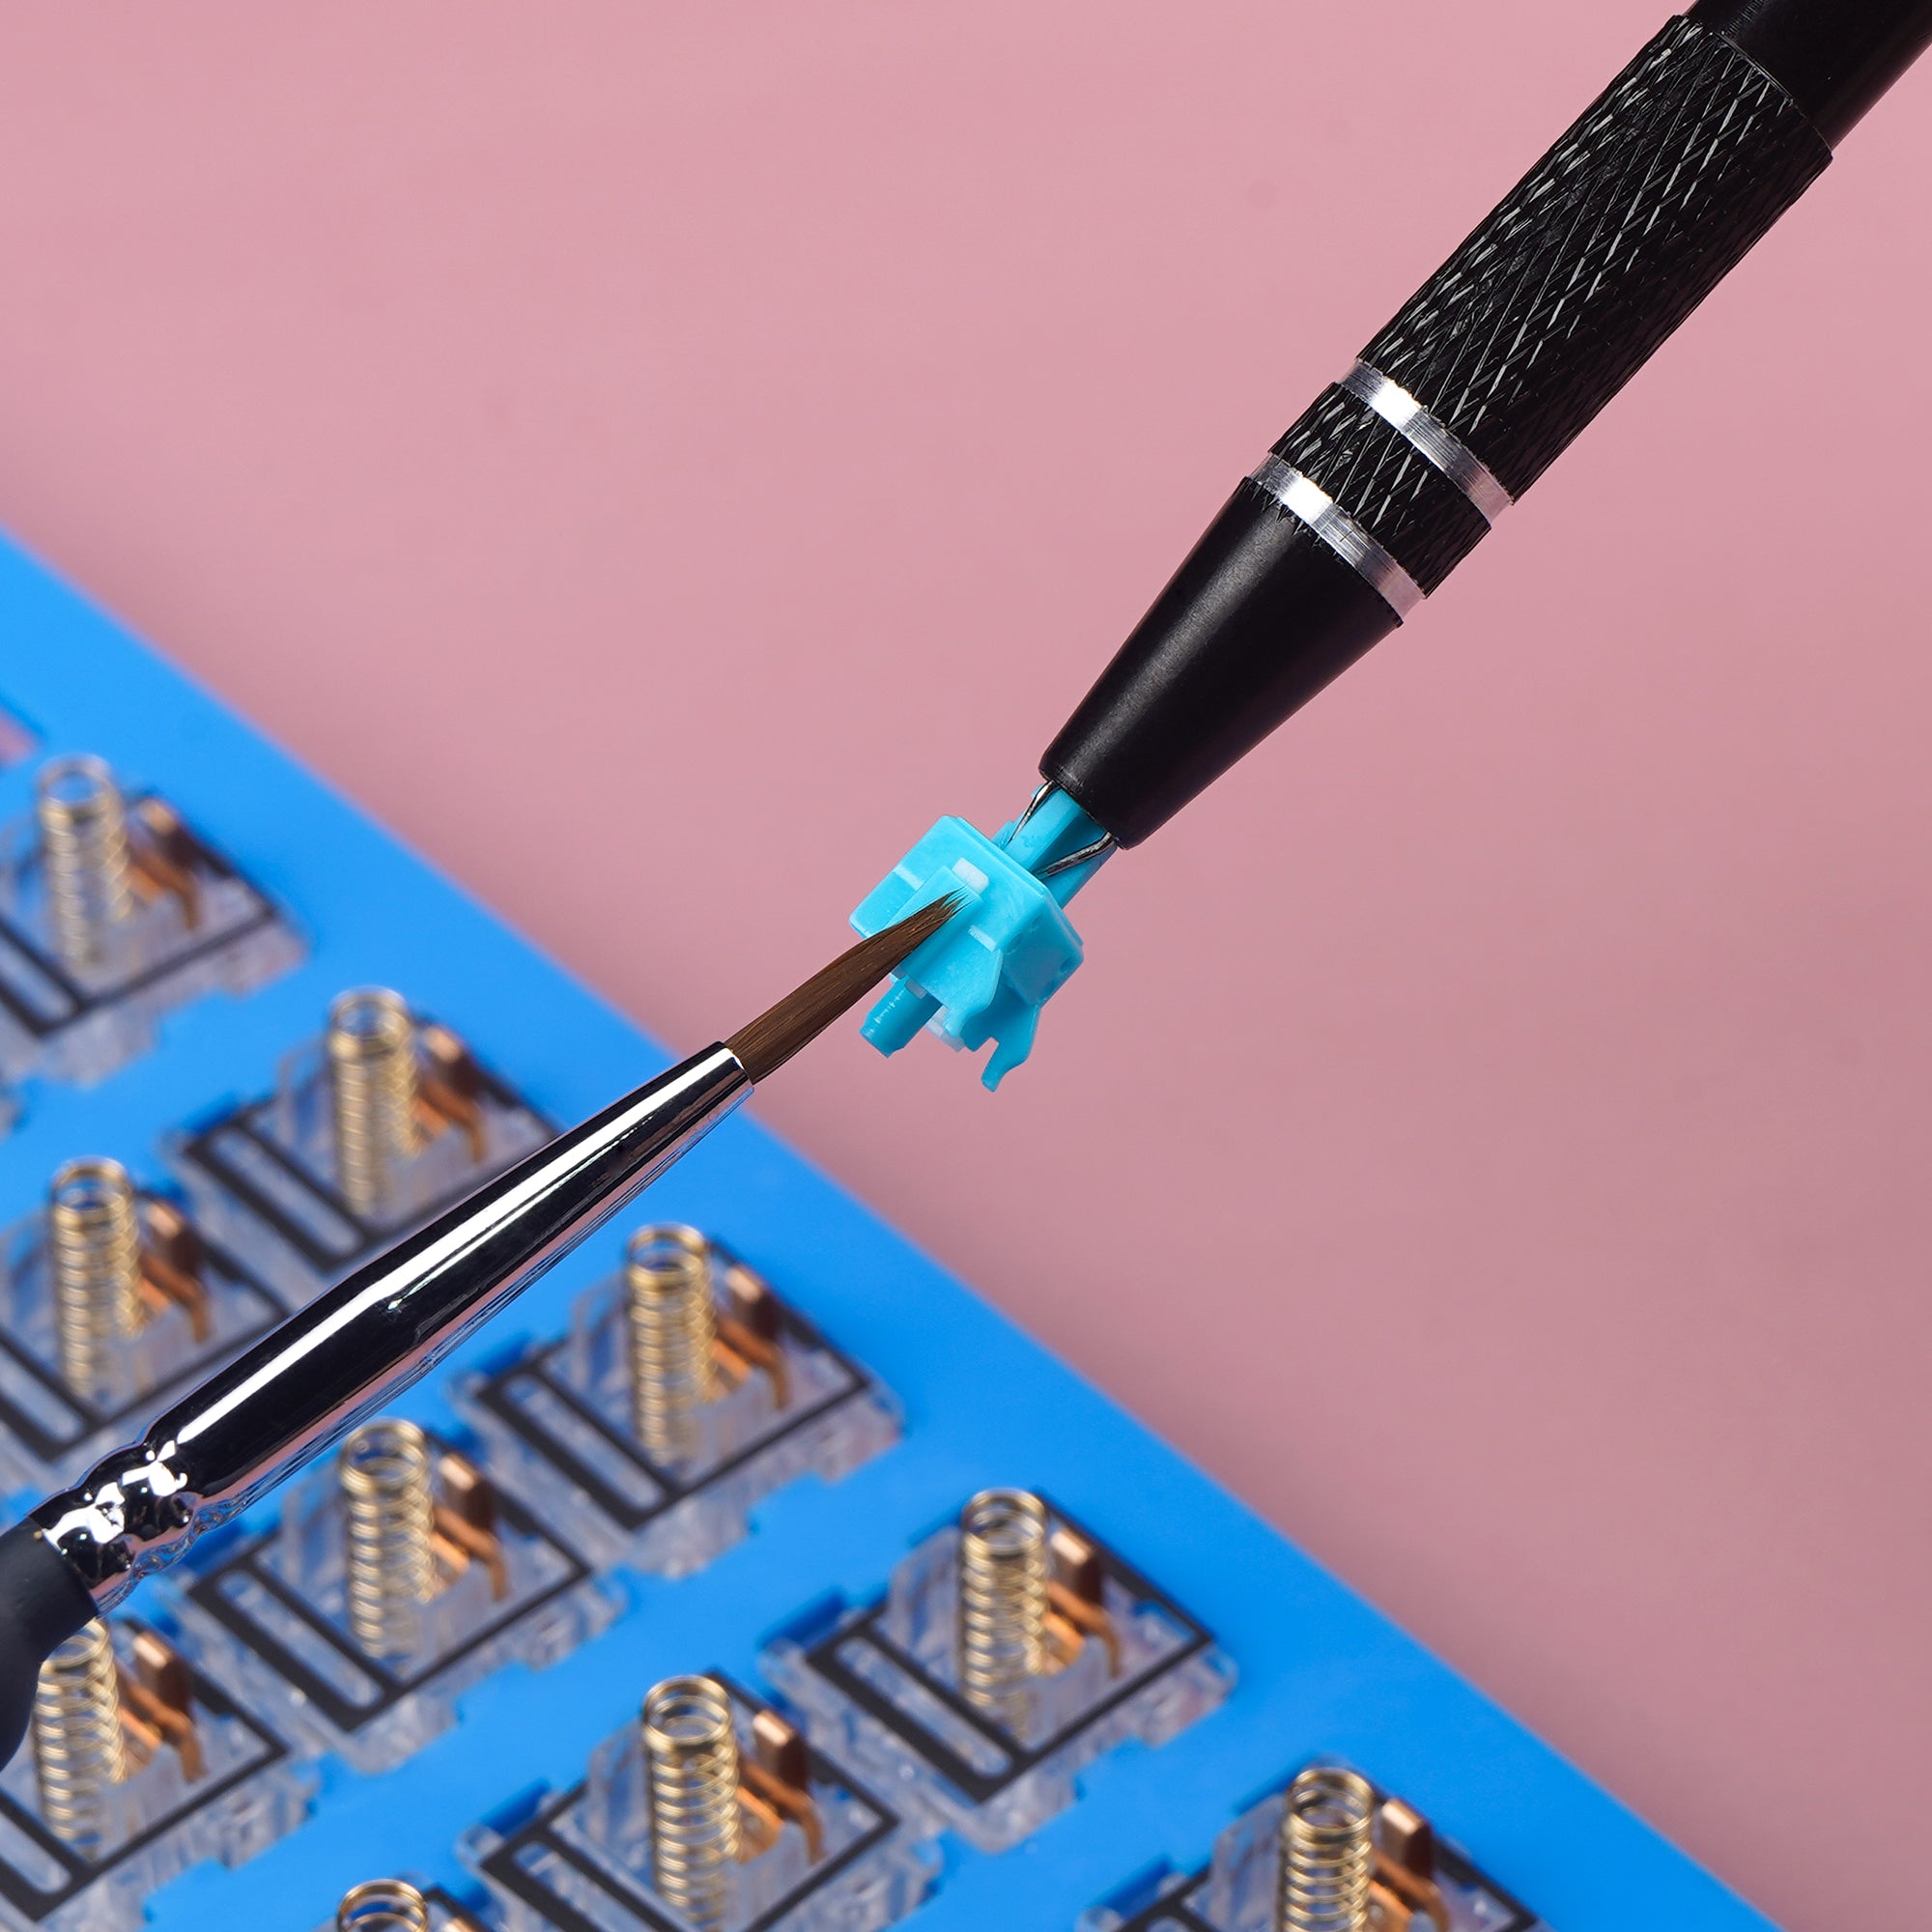
To enhance your keyboard’s performance, explore various lube options for switches without the hassle of desoldering. Additional resources offer step-by-step guides and tips for achieving a smooth typing experience. Discover techniques and products that can help maintain your keyboard effectively.
Summary Of Benefits
Lubing keyboard switches without desoldering offers many advantages. Here are some key benefits:
- Improved Performance: Lubed switches feel smoother and quieter.
- Enhanced Lifespan: Reduces wear and tear on components.
- Easy Process: No need for complex tools or skills.
- Cost-Effective: Saves money compared to buying new switches.
- Custom Feel: Tailor the switch feel to your preference.
Further Reading For Keyboard Enthusiasts
Expand your knowledge with these resources:
- Keyboard Switch Types: Learn about various switches and their characteristics.
- Lubing Techniques: Discover different methods for lubing switches.
- DIY Keyboard Mods: Explore creative modifications for your keyboard.
- Community Forums: Join discussions with other keyboard enthusiasts.
- YouTube Tutorials: Watch step-by-step guides for lubing and modding.
Frequently Asked Questions
How Can I Lube Keyboard Switches Without Desoldering?
You can lube keyboard switches by using a thin applicator or syringe. Carefully apply the lubricant between the switch casing and stem. This method allows you to enhance the feel and sound of your switches without needing to desolder them.
Make sure to use a lubricant suitable for keyboards.
What Type Of Lubricant Should I Use?
For keyboard switches, use a lubricant specifically designed for mechanical switches. Popular options include Krytox and Tribosys. These lubricants enhance smoothness and reduce friction without damaging the switches. Avoid using heavy greases, as they can make the switches feel sluggish and unresponsive.
Is It Safe To Lube Keyboard Switches?
Yes, lubing keyboard switches is generally safe if done correctly. Use the right lubricant and apply it sparingly to prevent excess buildup. Proper application will improve performance and longevity without harming the switches. Always ensure that no lubricant seeps into the electrical components.
Can I Lube My Switches While They Are Installed?
Yes, you can lube switches while they are installed on the PCB. This method is convenient and saves time. Use a precision tool to apply lubricant directly to the exposed parts of the switch. Be cautious to avoid getting lubricant on the PCB or other electronic components.
Conclusion
Lubing keyboard switches without desoldering is a practical skill for enthusiasts. This method enhances performance and extends the life of your switches. By following the steps outlined, you can achieve smoother keystrokes and improved sound. Enjoy a more satisfying typing experience while keeping your keyboard intact.
Happy typing!